Translation Glossary: Keep Your Key Terms Consistent Across Every Document
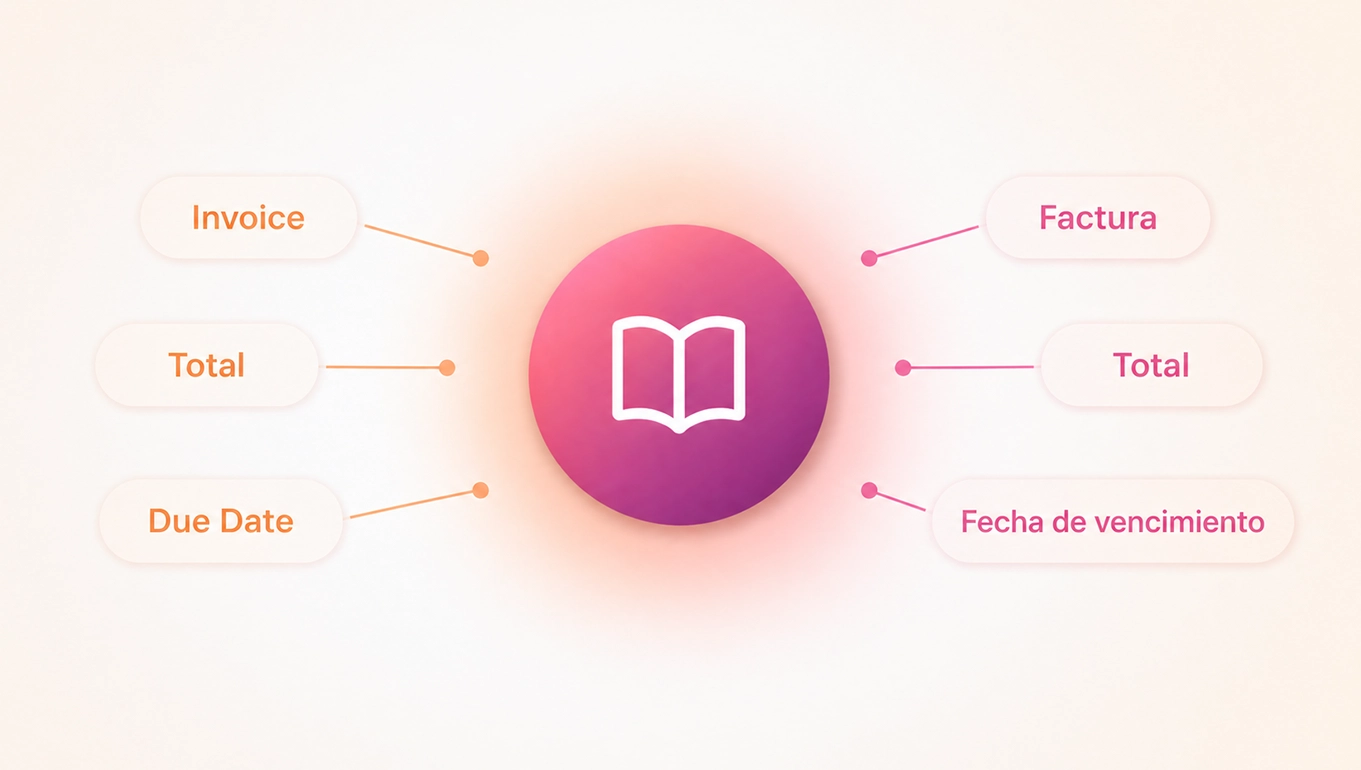
If you've ever translated a technical manual, a legal contract, or a medical report, you know the problem: the same term gets translated differently each time. Translation Glossary in PDF Translator Pro solves this by letting you define exactly how specific words and phrases should be translated — and then applying those definitions automatically, every time.
A glossary is a personal dictionary you build for your own documents. You tell the system: whenever you see this word in the source language, always translate it as that word in the target language. From that point on, every translation that uses your glossary will honour those rules — no variation, no guessing.
This matters most in fields where terminology carries precise meaning. A legal document where "indemnification" gets translated three different ways across 40 pages creates confusion and potential liability. A product manual where a component name shifts between translations erodes trust. A medical record where a drug name is rendered inconsistently is a patient safety issue. Glossaries eliminate all of that.
Creating a Glossary
Each glossary is tied to a specific language pair — for example, English to German. You can have as many glossaries as you need, organised however makes sense for your work: by client, by project, by subject area, or by document type.
- Open PDF Translator Pro and navigate to the Glossary section from the main menu.
- Click New Glossary.
- Enter a name for the glossary — something descriptive, like "Legal EN→DE" or "Medical Device Manual EN→FR".
- Select the source language (the language of your original document).
- Select the target language (the language you are translating into).
- Click Create. The glossary is created and opens in the editor, ready for terms.
Creating a glossary costs 2 credits. Once created, you can add up to 50 terms at no additional cost. Adding more terms beyond that is inexpensive — 1 credit per additional 50 terms.
Adding Terms
Once inside the glossary editor, adding terms is straightforward. Each entry is a pair: the original term in the source language, and the translation you want used in the target language.
- In the Add Term section at the top of the editor, type the source term in the left field.
- Type the target translation in the right field.
- Click Add Term. The pair appears in your term list immediately.
- Repeat for each term you want to fix.
To edit an existing term, click on it in the list. Both fields become editable inline — make your changes and press Enter to save, or Escape to cancel. To remove a term, click the delete icon next to it.
If you have many terms, use the search bar to filter by source text or translation. This makes it easy to find and update entries in large glossaries.
Importing Terms in Bulk
Building a glossary one term at a time works well for small lists, but if you already have terminology in a spreadsheet or a previous translation memory file, you can import the whole thing at once.
- In the glossary editor, click the Import button in the toolbar.
- Either paste your term pairs directly into the text area, or click Upload File to import a
.tsv,.csv, or.txtfile. The expected format is one term pair per line, with source and target separated by a tab. - Choose whether to create a new glossary from the import or merge the terms into the glossary you already have open.
- Review the detected term count and confirm the cost, then click Import.
You can also export any glossary at any time by clicking the Download button in the toolbar. This produces a .tsv file you can open in Excel, share with a colleague, or import into another project.
Using a Glossary in a Translation
Glossaries integrate directly into the Translate PDF and Translate Text workflows. When you translate a document, you can select an active glossary from a dropdown — the system then applies your custom term rules throughout the translation automatically.
- Go to Translate PDF or Translate Text.
- Set your source and target languages as usual.
- Look for the Glossary selector below the language options. It shows glossaries that match your chosen language pair.
- Select the glossary you want to apply. Only glossaries with a matching source-target language pair will appear.
- Proceed with the translation. Your term definitions will be applied throughout the output.
If you don't have a glossary for the current language pair yet, a New Glossary button lets you create one on the spot — it pre-fills the language pair so you can jump straight to adding terms.
Tips for Getting the Most Out of Glossaries
- Start small. You don't need to enter every term in a document before translating. Start with the 10–20 most critical terms — product names, legal definitions, technical classifications — and expand the glossary over time as you work through more documents.
- One glossary per domain. Rather than one massive glossary, consider keeping separate ones for different subject areas. A medical device client and a legal client will rarely share terminology, and smaller glossaries are easier to maintain and review.
- Use consistent casing. Glossary matching is case-sensitive. If the source document writes "Invoice" with a capital I, enter it that way. Adding both "invoice" and "Invoice" as separate entries covers both forms.
- Export and back up. After investing time in building a glossary, use the Download button to keep a local backup. This also makes it easy to share glossaries with team members or restore them in a new account.
- Review after translation. The first few times you use a new glossary, scan the translated output to confirm terms are landing correctly. If a term isn't being matched as expected, check the exact spelling and casing in the glossary editor.
The Consistency You Need, Without the Manual Work
Translation Glossary is built for anyone who translates the same types of documents repeatedly and needs the terminology to be right every time. Whether you're working alone or managing translations across a team, glossaries give you precise control over how your most important terms are handled — so you can focus on the content, not on fixing inconsistencies after the fact.
To get started, open the Translation Glossary section from the main navigation and create your first glossary. Your next translation will be more accurate from the first sentence.
Back to blog